
Statements are an alternative way of notifying your customers of the transactions that have occurred on their accounts in a specified period. Unlike invoices, statements do not trigger or update any financial transaction on the Stax Bill platform; they are simply a summary of the transactions between two specified dates.
Statements can be set up to generate automatically (see Setting up Automated Statements), or you can generate them manually from the customer view.
Sections on this page:
- Automated Statement Configuration
- Manual Statement Generation
- Tracked Items Settings
- By Transaction Statement Layout
- By Subscription Statement Layout
- By Invoice Layout
- Summarized Statement Layout
Automated Statement Configuration
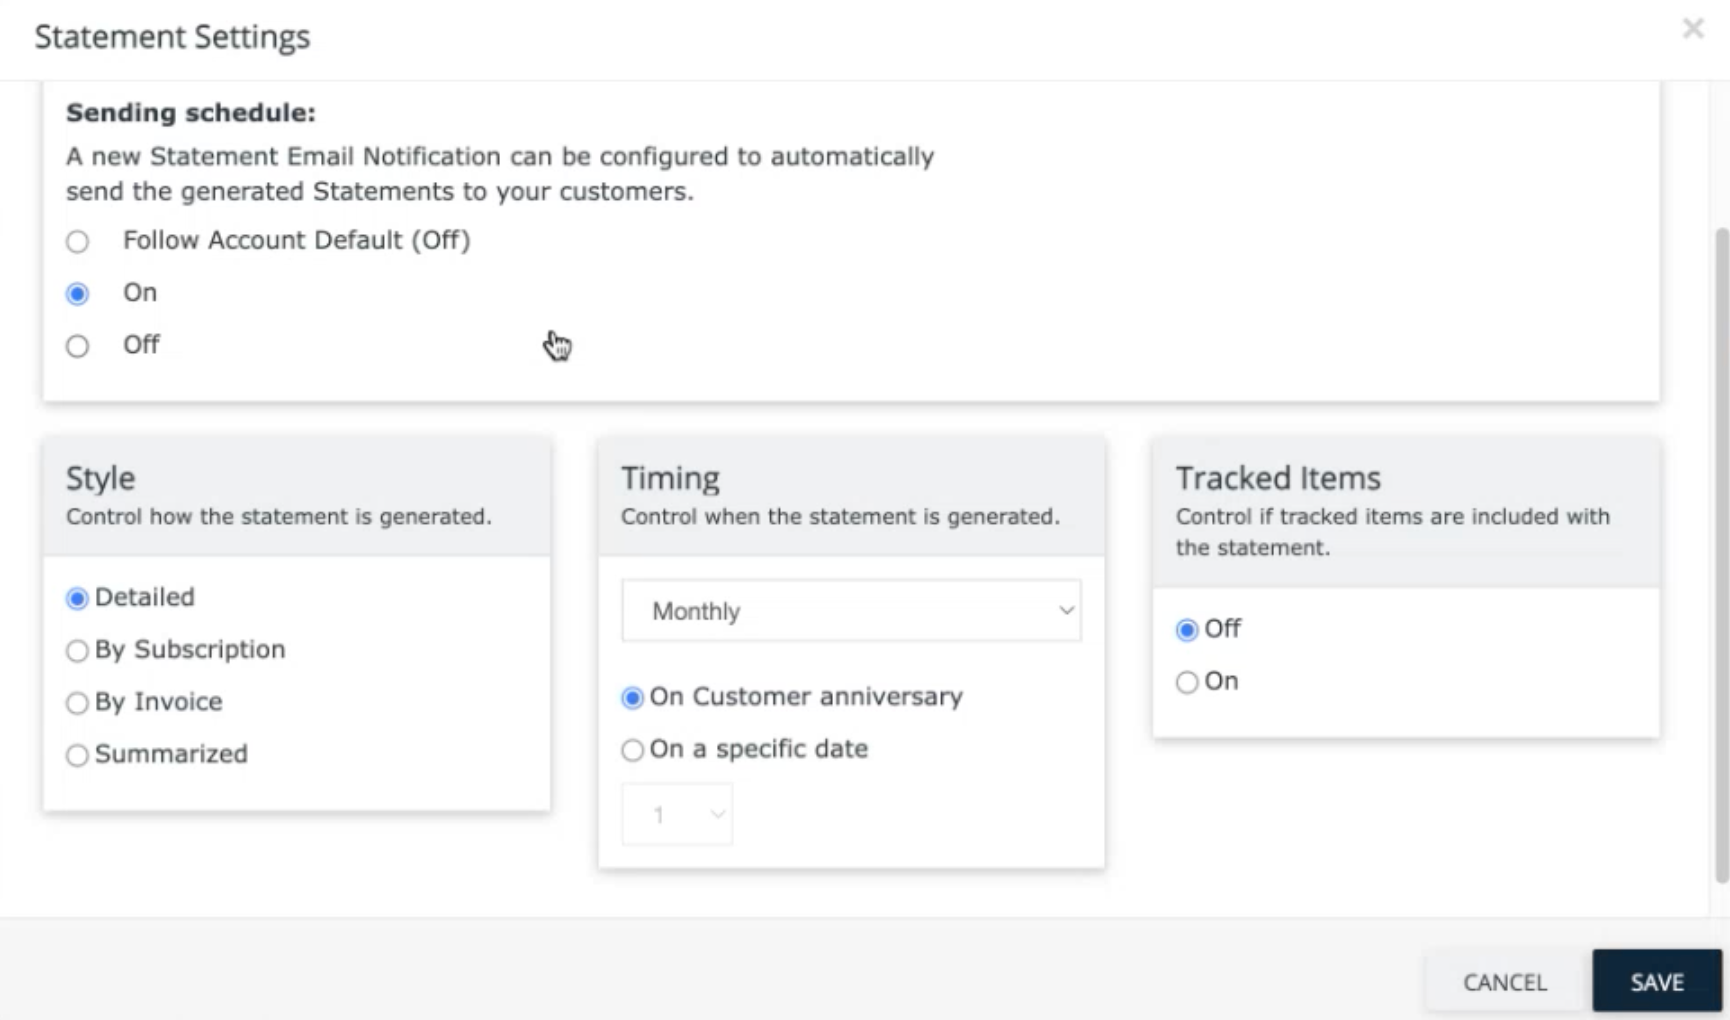
At the Customer level, you can choose to have a statement generated according to the account default (indicated in parentheses) or turn it on or off for each individual customer. The account default settings are shown in the box and can be overridden if you choose the "On" setting. Click Update to save changes.
Note: Only automatically generated Statements are stored in the History.
Manual Statement Generation
Go to the customer dashboard, scroll to the "Financials" block and click "Generate" in the Statement section.
Select a date range and a style to generate, then click Generate to create the statement according to your settings.
Tracked Items Settings
If you use Tracked Items on some products, you can also choose whether to show these on your Statement or not. Only the By Transaction and By Statement layout options can include Tracked Items.
- Format:
- Inline will include all of the tracked items in the statement with the charge.
- Separate Page will group all of the tracked items for all charges on the statement into a summarized view that starts on a new page after the statement is produced. This is particularly handy if you have dozens or hundreds of tracked items and don't want them to clutter up the main statement information. See the sample below. The PDF version of this statement would start the "Details" section on a new page.
- Display fields: Choose any or all of the Name, Reference, Description, and Created Date fields
Example of a statement with tracked items on a separate page
Note: The setting for Tracked Item fields applies to all Products with Tracked Items. You cannot choose the fields per product.
By Transaction Layout
The "By Transaction" layout for statements lists all of the transactions in chronological order between the two dates chosen, with an opening and closing balance shown at the top and bottom. Debits and credits are shown in two separate columns, and all of the charges for a particular day are grouped, followed by any payments or credits for the same day.
If products are taxable or have discounts, these will be shown separately by the charge group.
The By Transaction layout can be helpful for accountants or billing clerks who are trying to analyze the details of transactions for a customer between a specific date range.
You can click View as PDF to generate the statement in PDF format, and you can also click Send as Email to send it to the account's primary contact as a PDF attached to the email.
By Subscription Layout
The "By Subscription" layout for statements organizes the statement according to the invoice(s) that occurred during the specified period, as well as any payments, credits, etc.
- Taxes and discounts are grouped at the bottom of each charge, similar to how they appear on invoices.
- Payments show details of how they are allocated (if applicable).
- This layout also shows the quantity and unit price of each charge grouped by invoice and the status of the invoice at the time the statement was generated.
You can click View as PDF to generate the statement in PDF format, and you can also click Send as Email to send it to the account's primary contact as a PDF attached to the email.
By Invoice Layout
Similar to the by-subscription layout, the invoice layout organizes the statement by invoice with a summarized view of the subscriptions without the line-by-line detail of the by-subscription layout.
Summarized Layout
The "Summarized" statement layout shows the total number of debits and credits during the chosen period.
You can click View as PDF to generate the statement in PDF format, and you can also click Send as Email to send it to the account's primary contact as a PDF attached to the email.